


Floor Cleaning
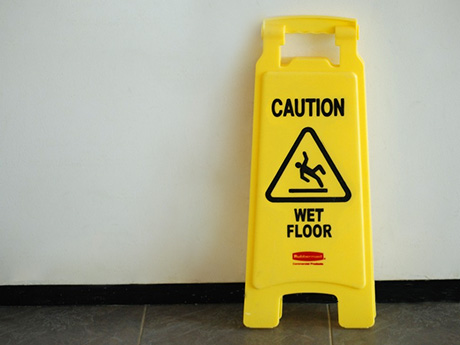
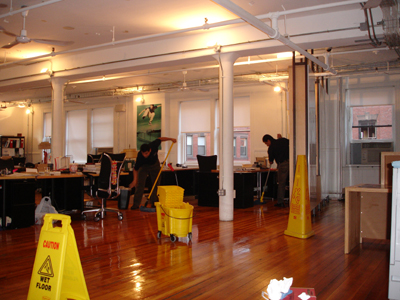
Before anything we post wet floor signs. The
signs must indicate which areas are being
stripped.
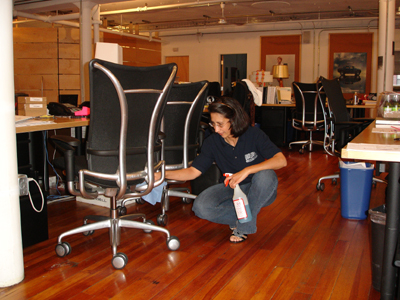
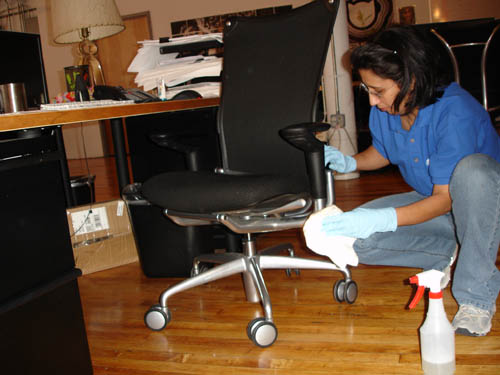
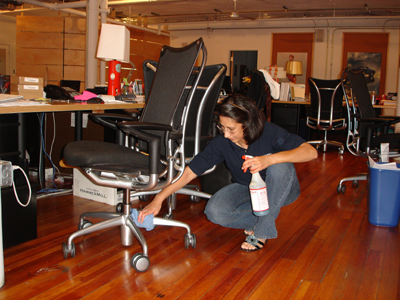
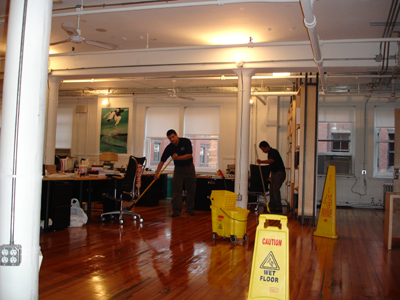
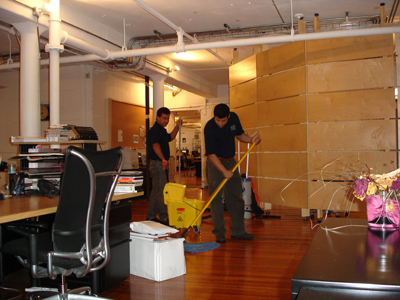
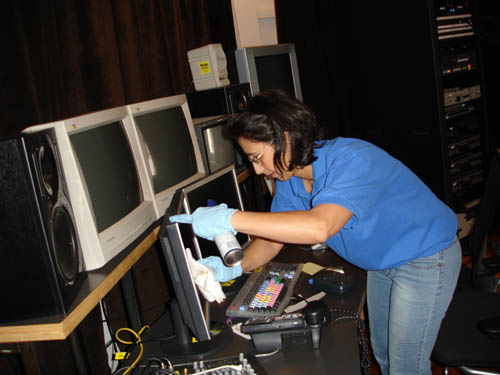
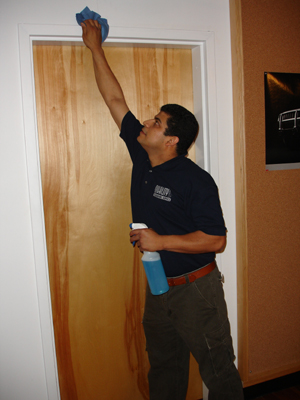
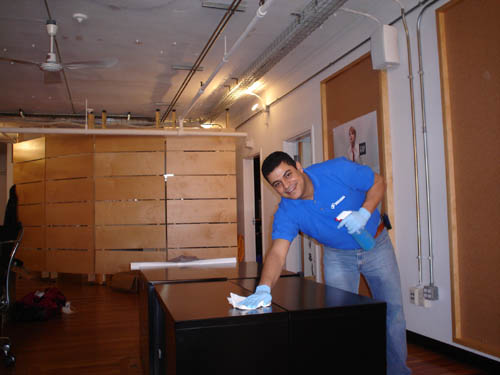
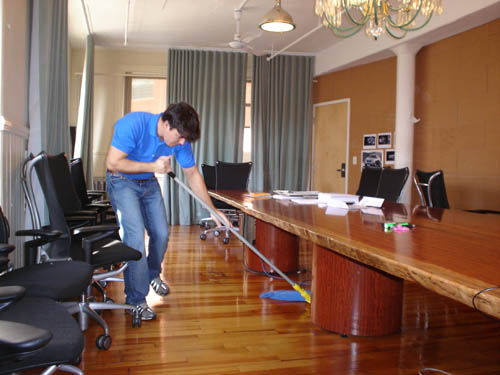
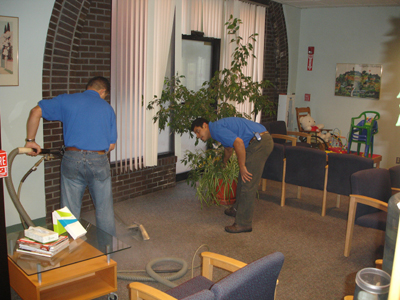
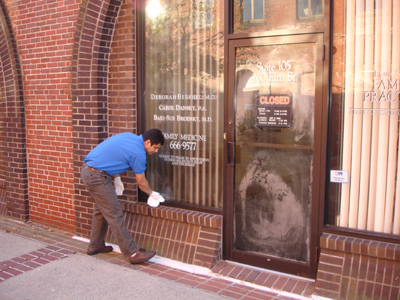
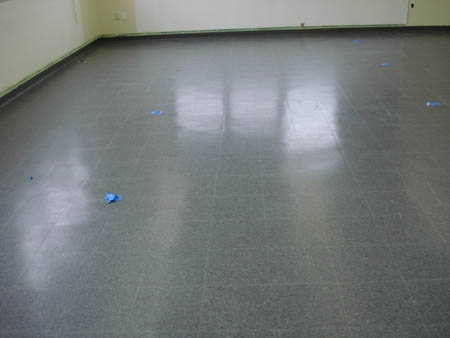
The first step in performing a Floor
stripping is to dust mop or sweep floor area
and remove any foreign debris, i.e. gum, tar
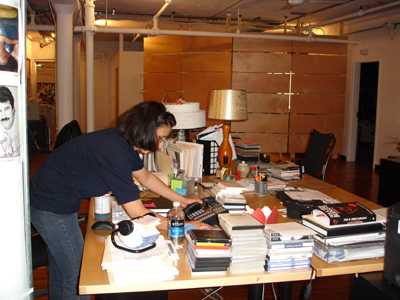
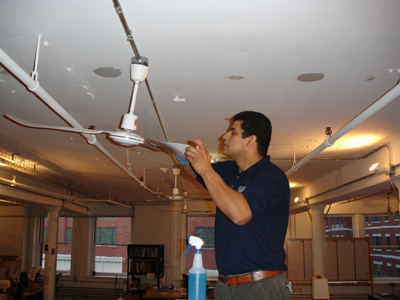
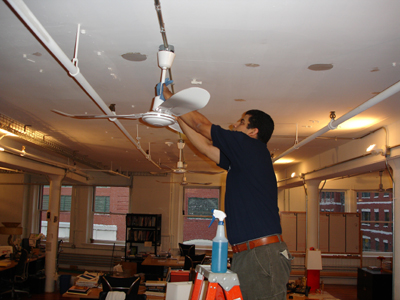
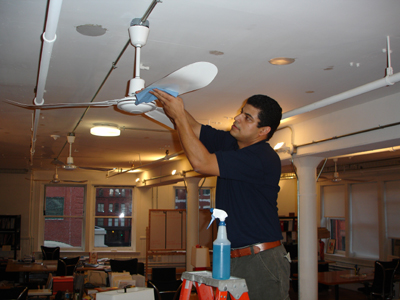
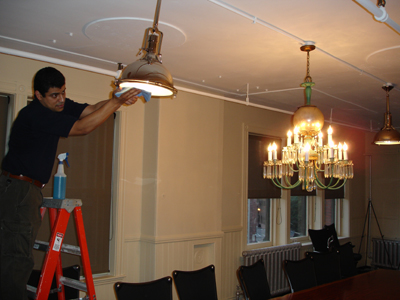
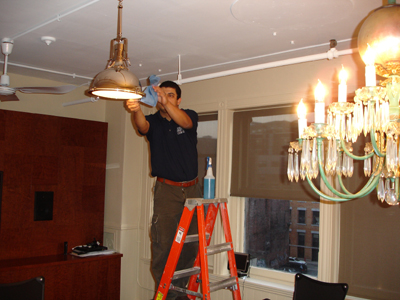
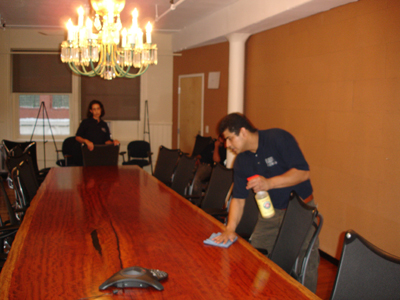
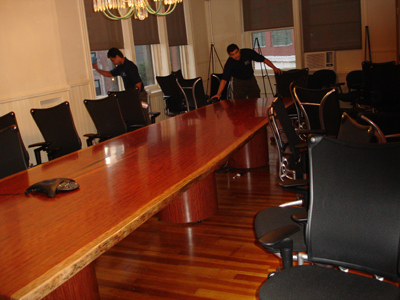
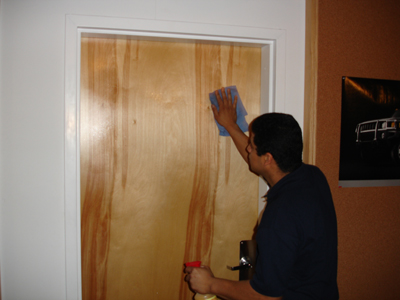
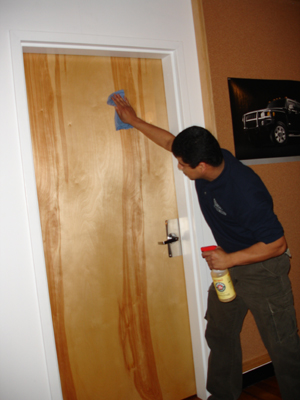
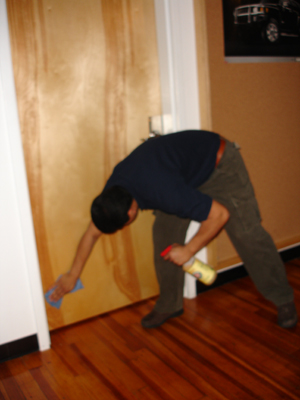
etc. We go beyond. Here's Jean preparing the
surface before work is initiated.
Jean Preparing The Surface Before Work is
Initiated (More Detail).
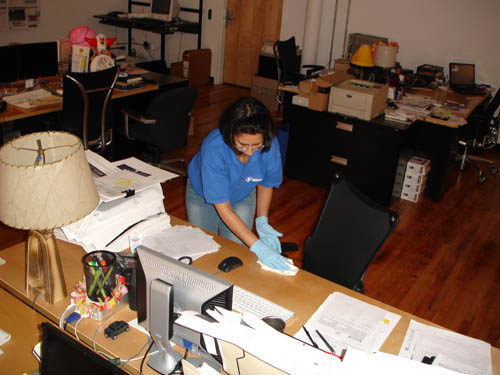
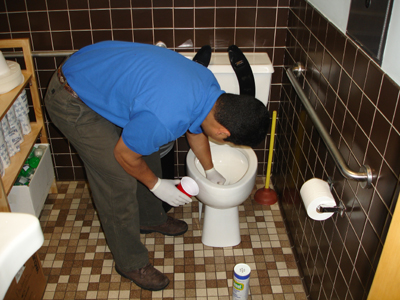
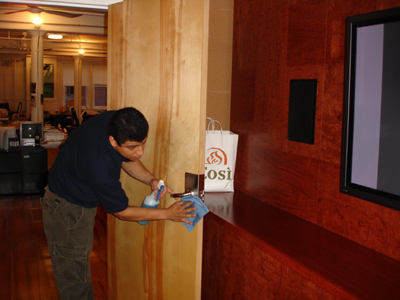
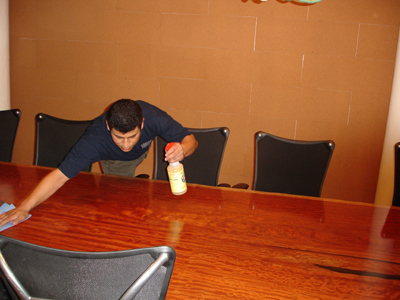
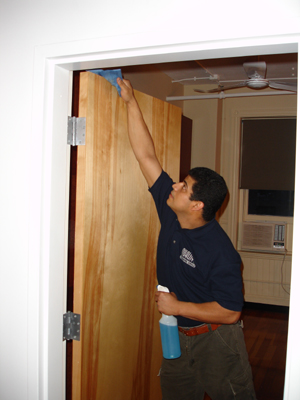
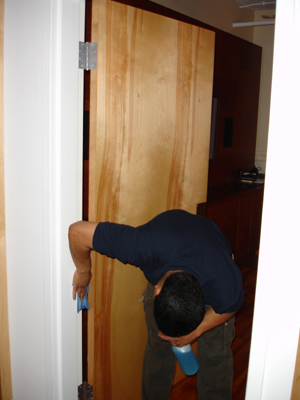
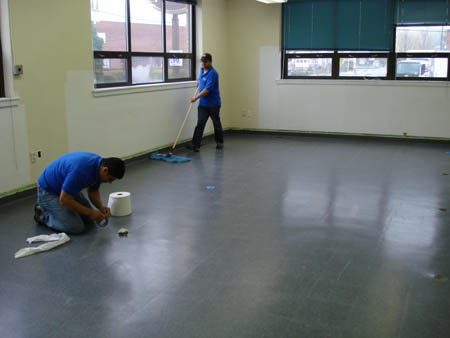
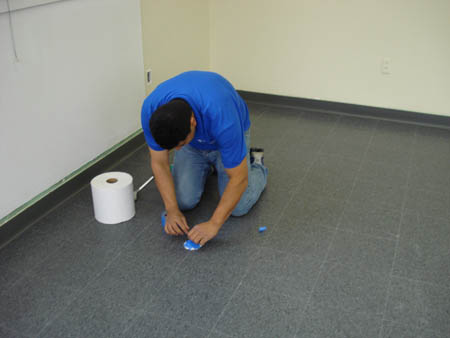
We only start the floor cleaning once all
holes are properly covered.
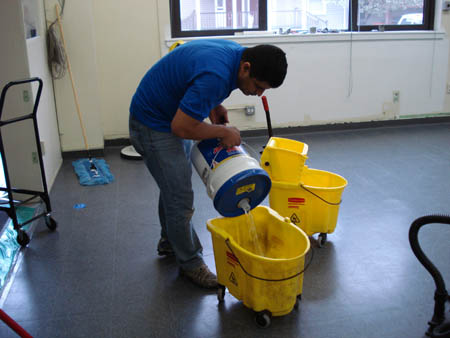
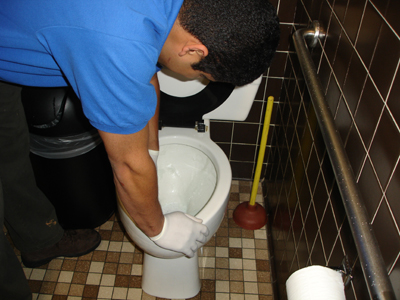
At this moment I mix proper solution of stripper with the correct amount of cold water in the mop bucket (Cold water and not hot water. Much of the active ingredients in floor strippers will become very active (create a vapor) if mixed with HOT water. We don't want to to weaken the strength of the stripper).
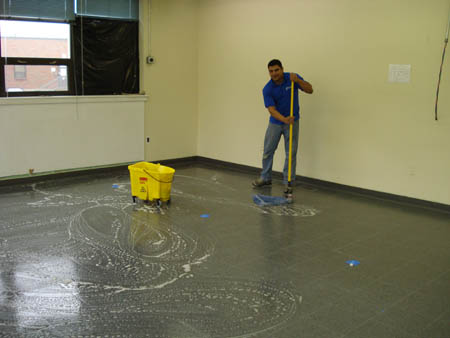
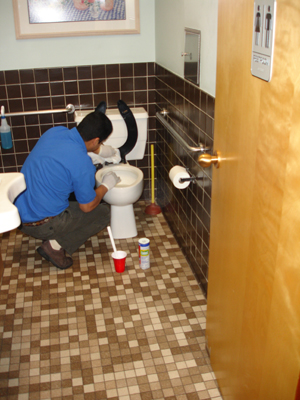
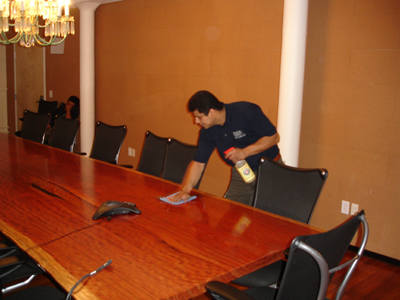
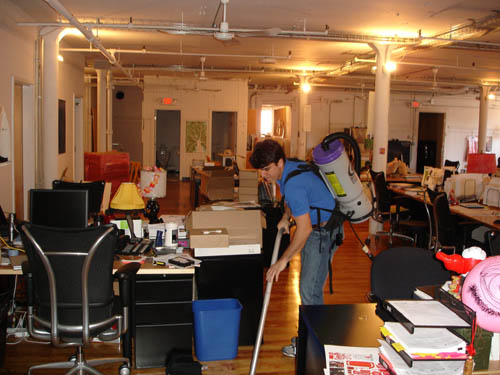
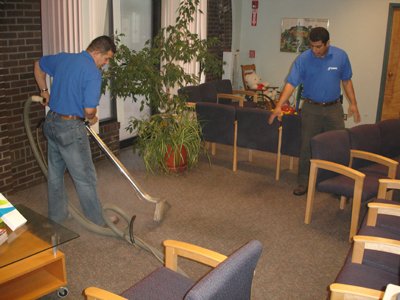
Here I am mopping the diluted stripper over
the area. I always allow adequate time for
penetration of the stripper. Under normal
conditions the diluted stripper should
remain on the floor surface for 7 - 10
minutes. Important Note: I don't allow
stripper solution to dry on the floor
surface.
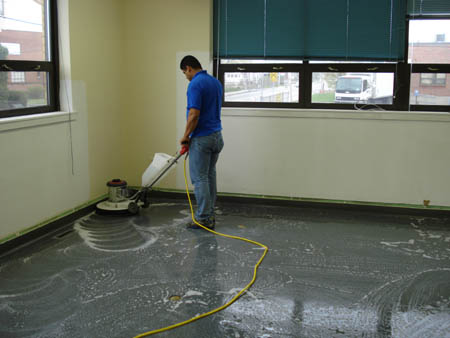
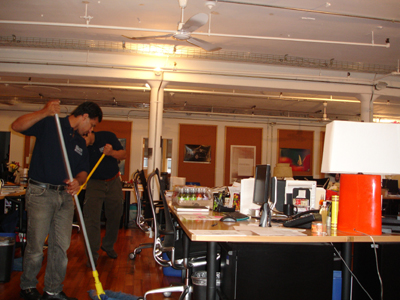
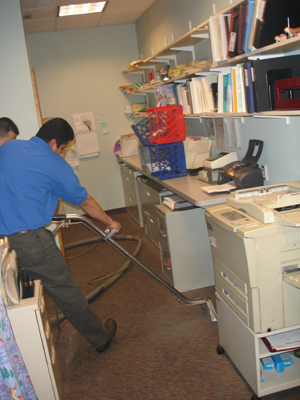
After a period of proper chemical reaction
has passed (approximately 7 - 10 minutes), I
begin to agitate the floor surface with a
floor machine equipped with a PT-2000
stripping pad. Notice here how I work with a
small circular motion moving about the area
being stripped.
.jpg)
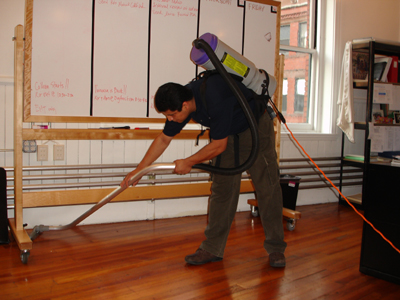
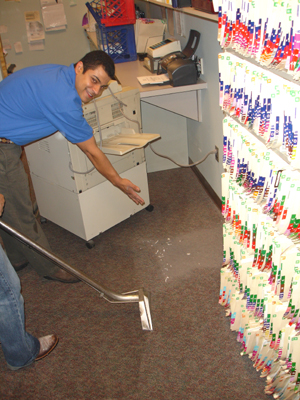
Here's one more view of this part of the
process. We do use a utility pad holder with
handle, properly equipped with a black pad.
All the area must be agitated, including
baseboards (never cut corners!).
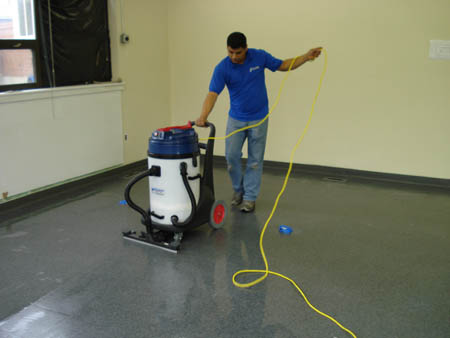
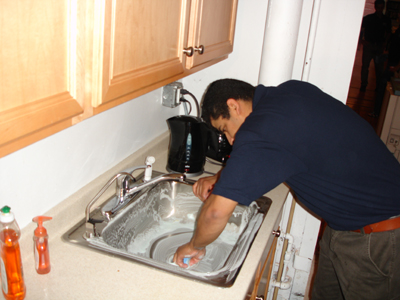
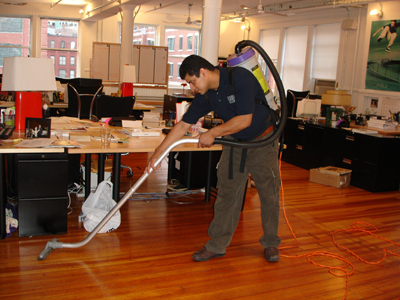
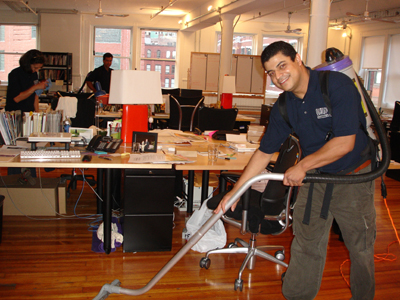
All stripper solution is now retrieved with
a commercial quality wet vacuum equipped
with the proper floor squeegee tool.
.jpg)
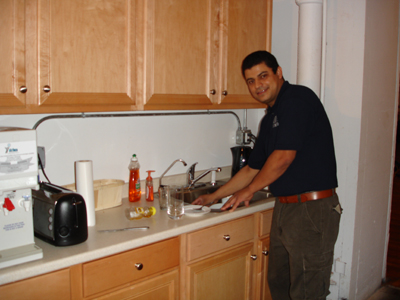
After floor has dried, we check check to make sure that ALL the stripper residue has been removed by running our hands across the floor surface. If there is slight residue present on ours hand, we repeat the process until is perfect.
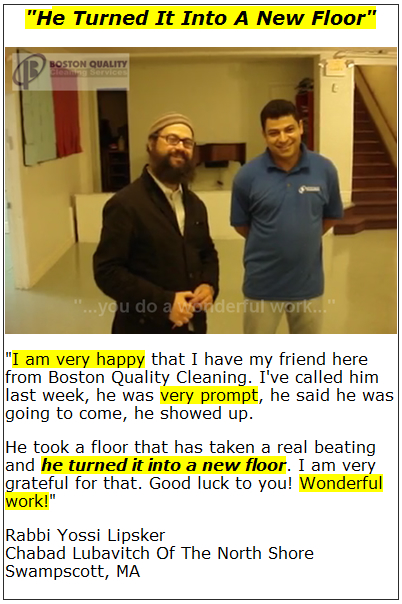
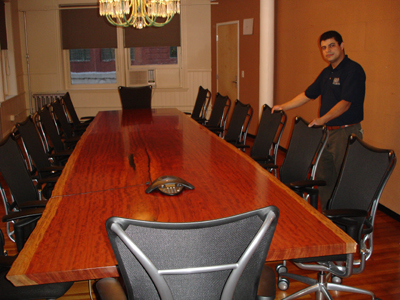
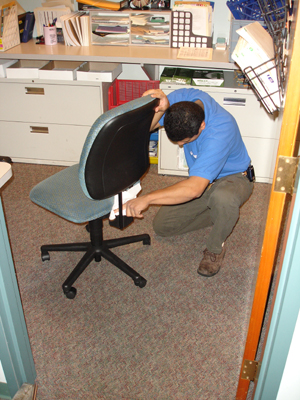
Before
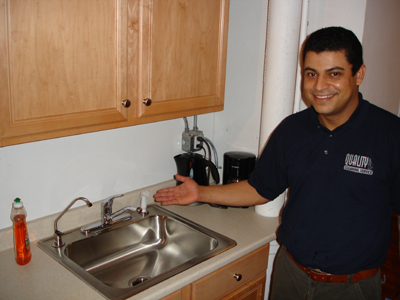
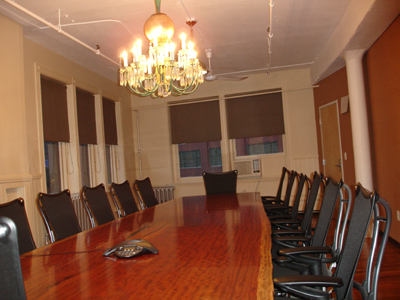
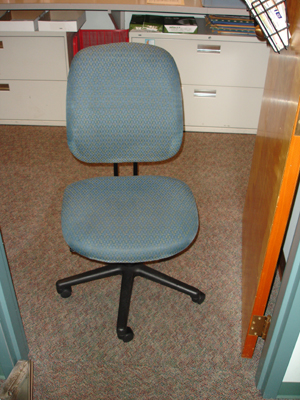
After
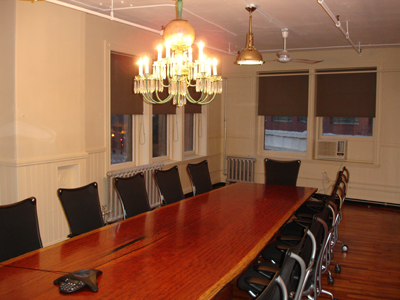
After